This article will provide a short overview of each application listed under All in Advanced Tools of the Control Center.
Login to the EarthLink Hosting Control Center at: https://control.earthlink.net/.
Click All applications to review each application.

WordPress
|
|

WordPress is an online, open source website creation tool written in PHP. It’s the easiest and most powerful Blogging and website content management system (or CMS).
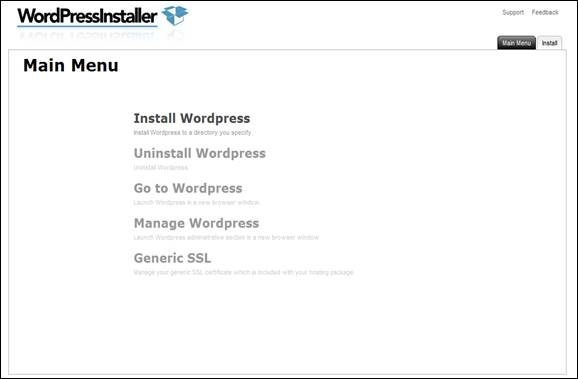
To install WordPress Installer from the Control Center, you would then see the following screen:
Click Install WordPress.
- Prior to install, you will need to create a database for your domain. To know how to create a database click here.
- If you do not have a database, we urge you to create one now.
- It is important to create a database before you start designing your website as it makes your website more interactive.
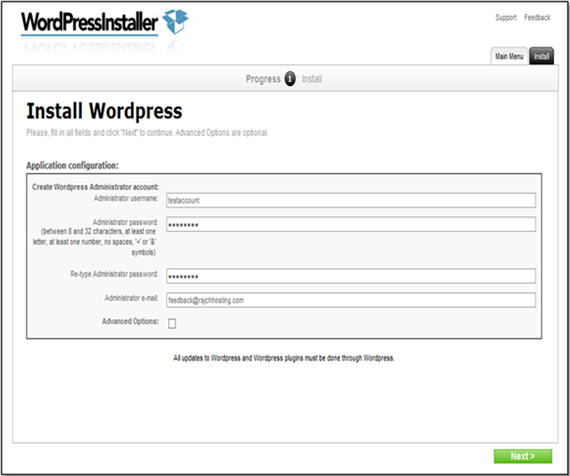
Create a username and password and type your email address under Administrator e-mail. If you forget your password in the future you can gain access to it through this email address.
For more details regarding the WordPress Installer, Click here.
|
Joomla Installer
|
|

Joomla is an advanced open source content management that helps you builds your website. This application will easily install Joomla to a directory that you specify within your web space.
To install Joomla from the Control Center, you would then see the below screen:
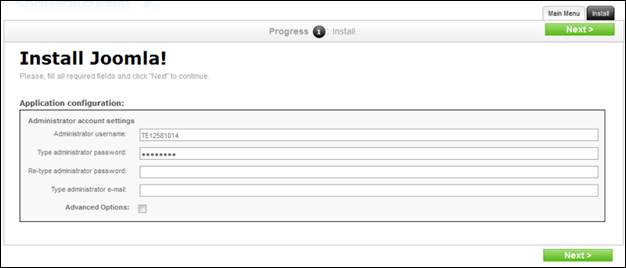
- Enter a username you would like to setup for your Joomla application.
- Create a password.
- Retype the password again.
- The administrator email would be the one on which you would receive the password when you forget your Joomla password.
- Check mark the Advanced options for additional options to manage the Database.
- Create a database in MySQL Database Application select the appropriate database.
- Select Database and Location where you want to install the Joomla application.
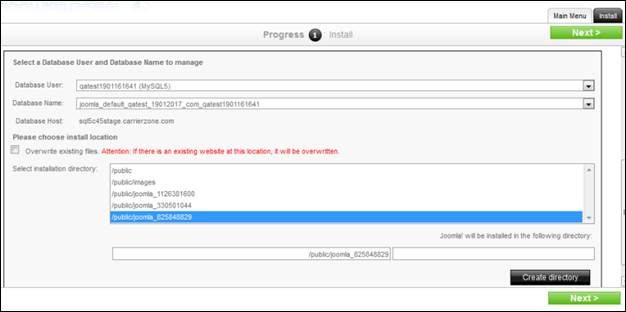
- Click on Next to complete the installation for Joomla.
|
PhpBB Installer
|
|

This application has been developed to create and maintain forums for your website. Click on PhpBB and then click Launch. The application will open in a new window. To install PhpBB application click the option Install PHPBB.
You would then see the below screen:
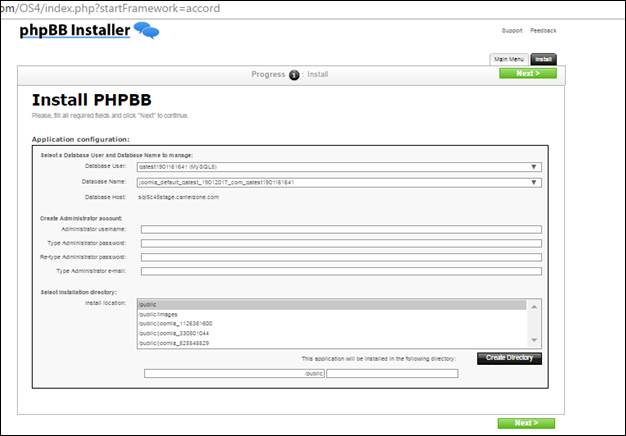
- After creating a database in MySQL Database Application select the appropriate database user and Name. To know how to create a database click here.
- Under Administrator account settings, Enter a username you would like to setup for your PhpBB application.
- Type the password.
- Retype the password again.
- Enter your email address in the Type Administrator email box. This email will be used to send your PhpBB Password.
- Select the location you want to install or enter a directory name and click on Create Directory.
- Click on Next to complete the installation for PhpBB.
|
Customer Error Pages
|
|

With this tool, you can define Custom Error Pages for popular web server errors. Your customized error page will be displayed when the particular error occurs. You can also use this tool to manage an existing page. You can select specific sections of your site or set error messages for the entire website.
Click on the Custom Error Pages icon and launch the application.
You would then see the below screen:
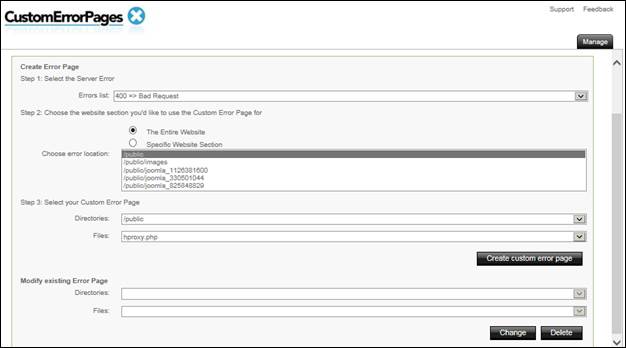
- Select the appropriate error code you wish to setup from the Error List dropdown.
- You can either set the custom error page for your complete website or you can set for a specific section for your website.
- Select the directory and the web page that you had created in step 1 from the dropdowns.
- Click on the Create custom error page button to create a custom error page.
- To modify an existing error page select the directory and the new webpage which you wish to set as the new custom error page. Once done, click on Change button.
- To delete an existing error page, select the directory and the new webpage which you wish to set as the new custom error page. Once done, click on Delete button.
|
File Manager
|
|
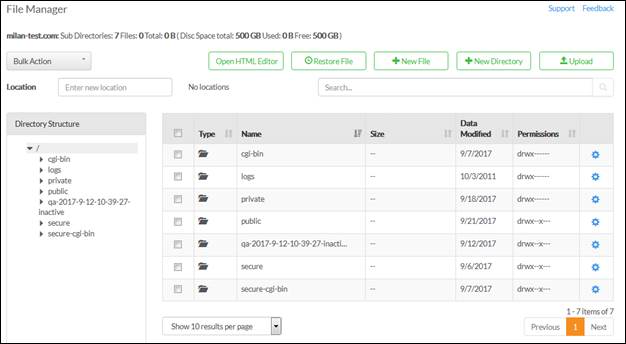
The File Manager gives you FTP style access to your site. You can use the File Manager to move around files, create new files and folders or delete them.
File Manager would contain all the files for your Website.
For more details regarding the File Manager application, Click here.
|
FTP Manager
|
|

FTP allows you to give a user FTP access to a specified directory of your website. Using an FTP client, the user will be able to upload files to your website and download files from your website.
- You have option to login in anonymously using FTP.
- Click on Enable Anonymous FTP to allow.
- You also have the option of Directory FTP which allows you to create users to access specific directories using FTP.
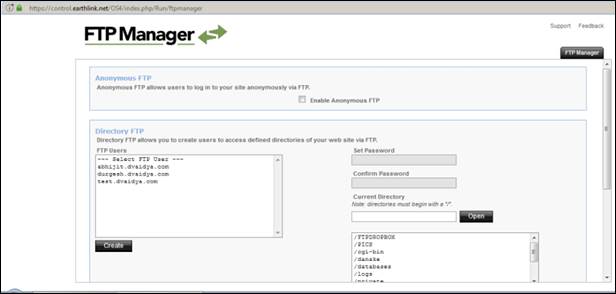
- Select FTP Users, set password and the current directory on which you would like to access to the user.
- FTP Manager also has an option to set master Password which would act as the FTP administrator.
For more information regarding the FTP Manager, Click here.
|
Domain Forwarding
|
|

The Domain Forwarding will allow you to redirect pages from your site to other location or domain. You can create a new Domain Redirection by choosing a directory/folder from the appropriate drop-down menu.
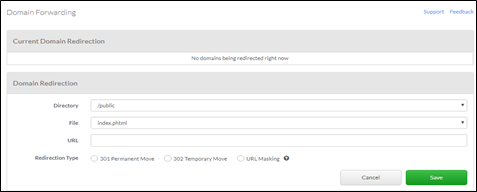
- Select the Web site location to redirect.
- Select the file to redirect for the location.
- Enter the redirection destination URL.
- Then click on Create redirection, in manage redirection you can view installed directory.
- You also have options to View redirection, Delete redirection and Change redirection.
- Once you have saved the details, please click on save settings. Your changes will take effect globally in approximate 60 mins.
|
Windows Services
|
|

With Windows services, you can upload your website files which were built in languages like ASP, ASP.NET and ColdFusion MX.
Launch the application and you will see the following screen.
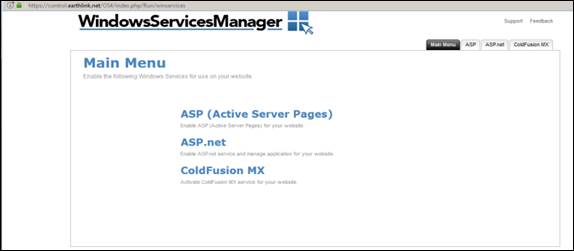
Note: Activation of the services may take up to one business day to be completed.
|
MSSQL Manager
|
|
Microsoft SQL Server is a database management system that supports a wide variety of transaction processing, business intelligence and analytics applications in corporate IT environments. Its primary function is to store and retrieve data as and when requested by the user.
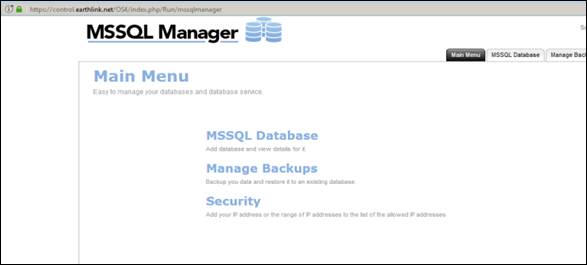
Note: To use MSSQL database you need to enable Windows Services first.
- By clicking on MSSQL database option you can create and manage you database.
- To backup or restore existing database click on Manage backups.
- If you want to connect to your database externally then you can whitelist your IP from the Security section.
|
MySQL Manager
|
|
MySQL Manager Application helps you manage your new and existing database. You will be able to change password for your database and it will also show a list of created databases.
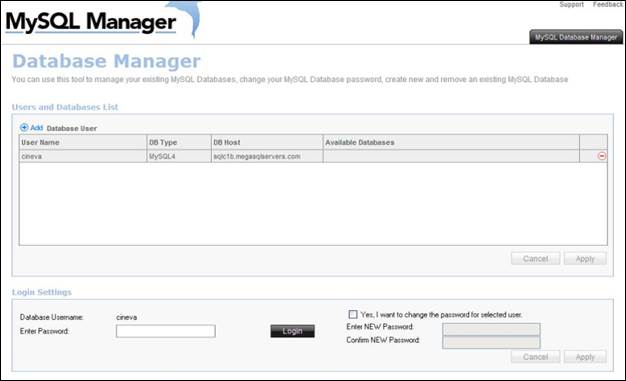
For More information on how to manage My SQL Manager Click here.
|
SSH Manager
|
|

Secure Shell application allows users to connect remotely to a computer and execute commands to move or delete files. To execute commands, users need to have advanced knowledge of UNIX. You need to use a SSH client like Putty.
You will see the below screen once you click on SSH Manager:
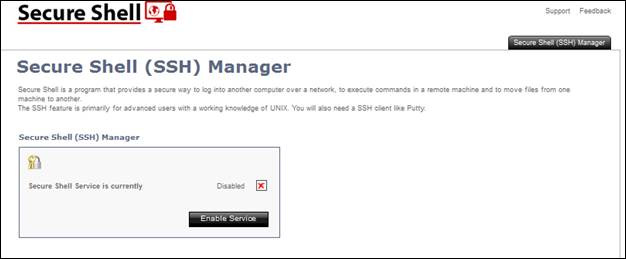
Enabling the service:
To enable the SSH service you need to click on Enable Service and on the next prompt click Yes. You would then see the below screen:

You can now download a SSH client like Putty and use the Hostname and password to connect via SSH.
|
Add Subdomain
|
|

A sub-domain represents a subsection of your own domain that is hosted in its own folder. For e.g: example.domain.com is a sub domain where .com is the top level TLD and the main domain is domain.com. You can add, rename or delete sub-domains from this application.
You will see the following screen when you launch Add Subdomain application.
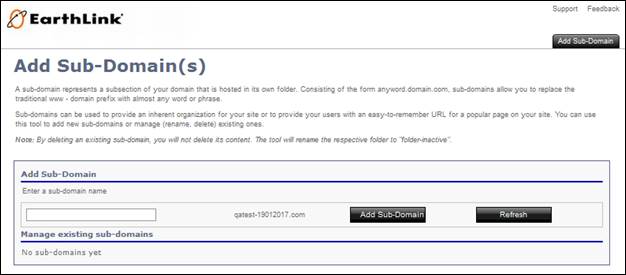
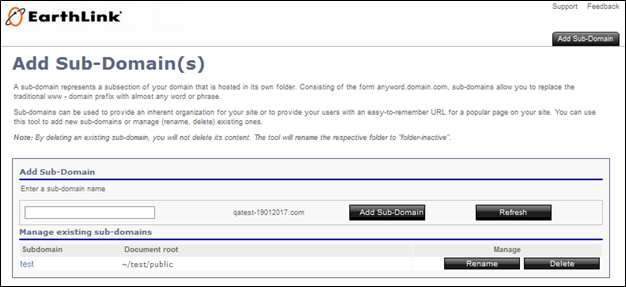
To add a sub-domain enter the name under the sub-domain field and then click on Add Sub-Domain. You would then see the following screen and the new sub-domain would be visible under Manage existing sub-domains section.
|
Website Security
|
|

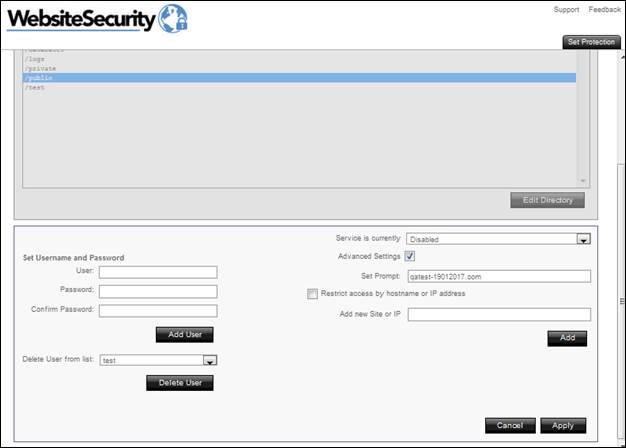
The Website Security application allows you to restrict certain sections of your website and block IP’s. You can add and delete users who will have access to your websites’s restricted section.
Once you open the Website Security application, you will see the following screen:
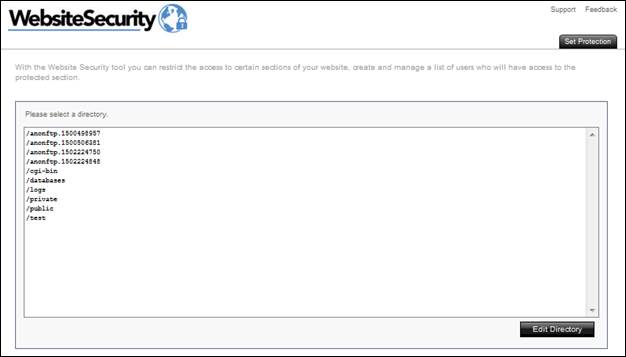
Set protection for your website:
- Select or double click the directories on which you want to set protection and click on Edit Directory.
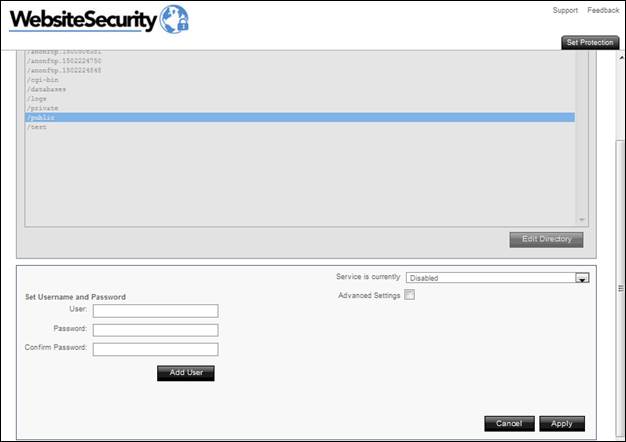
- Set username and password and click on Add User.
- Select Enabled from “Service is currently” dropdown.
- If you wish to restrict an IP address from accessing the website, checkmark the option “Restrict access by hostname or IP address” and add the IP under “Add new Site or IP” field and click on Add.
|
Mail Manager
|
|

The Mail Manager application allows you to customize settings for your domain email address. With this application you can create and delete new email address, adjust spam filters, enable or disable Catchall and Virus Scanning feature.
Below is the main page of the Mail Manager application:
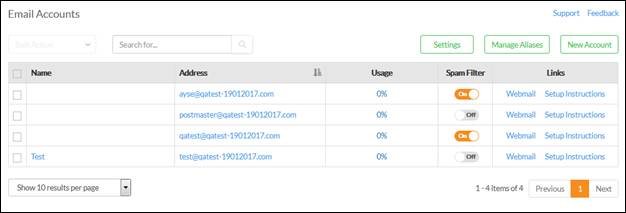
For more information regarding the Mail Manager, Click here.
|
Announcer Pro (Email Marketing)
|
|

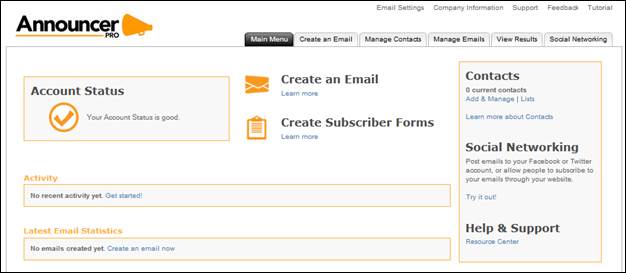
Announcer Pro application helps you create and send professional email newsletters. There are 300+ ready-made newsletter templates which can be edited and personalized. You can create one or more campaigns and send it to a list of email addresses at different times. All newsletters have an opt-in and opt-out option.
Below is the main page of the Announcer Pro application which can be accessed by clicking on Email Marketing:
|
Web Analytics
|
|

Web Analytics allows you to optimize the online presence for your website. Using the Web Analytics application, you can view your website statistics, manage account information, print reports, and specify how the application should gather information. The statistical analytics provides information about visitors to your website. For example, how they found your website, the pages they visit, the length of time spent on each page, and the activity for each page.
For more information regarding Web Analytics Click here.
|
Domain Guard
|
|

Domain Guard lets you know each time a new domain name similar to yours is registered, helping you protect your trademarks, copyrights, and brand. Domain guard sends notifications directly to your email to notify you when someone registers a similar domain. Upon receiving the notification, you can buy the domain yourself or keep an eye out for copycats and imitators who could potentially gain your business by having a similar domain.
For detailed instructions on how to use the Domain Guard Application, please visit article Click here.
|
Domain Monitor
|
|
Domain Monitor is a monitoring tool that continually monitors the daily status of any domain and sends daily email alerts when one or more of your domains change its status. Based on the domain you have chosen to monitor, it will notify you when it is available for purchase.
Note: Domain Monitor only supports .com and .net TLDs.
For detailed instructions on how to use the Domain Guard Application, please visit article Click here.
|
DNR Manager (Domain Manager)
|
|
Domain Manager Application allows you to manage your domain settings. Modify your domain’s contact information, lock/unlock your domain, change the Name Servers, enable/disable WhoIs Privacy protection, and request your Transfer Authorization (EPP) code.
For detailed instructions on how to use the Domain Manager / DNR Manager application, please visit article – click here.
|
DNS Manager
|
|
The DNS Manager allows you to update A (address), CNAME (canonical name) and MX (mail exchanger) records. Access DNS Manager Application from the Advanced Tools section of the Control Center.
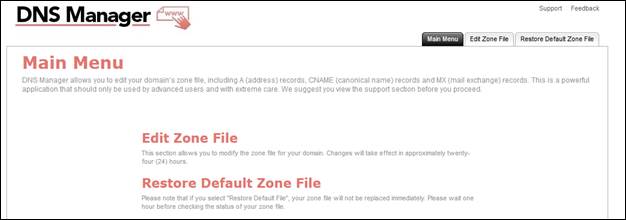
Note: Changes will take effect in approximately twenty-four (24) hours.
Click here for more details on how to update the records.
|
Manage DSN (DSN Manager)
|
|
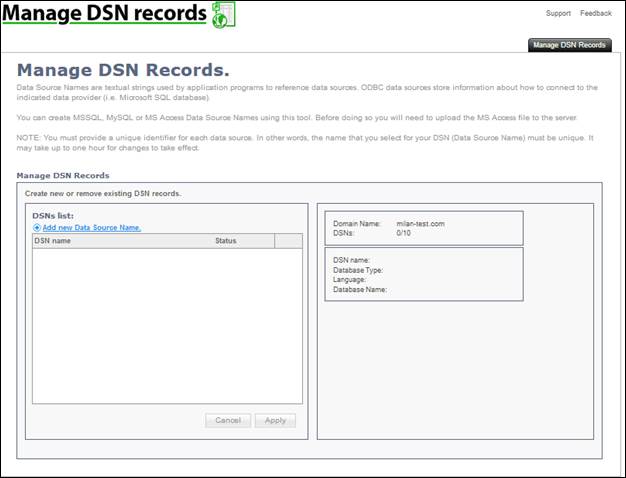
The DSN Manager Application allows you to create MSSQL, MySQL or MS Access Data Source Names. To access the application, click on Advanced Tools in the Control Center and launch the DSN Manager Application.
First you need to upload the MS Access file to the server. Data Source Names are textual strings used by application programs to reference data sources. ODBC data sources store information about how to connect to the indicated data provider (i.e. Microsoft SQL database).
|
HTML Editor
|
|

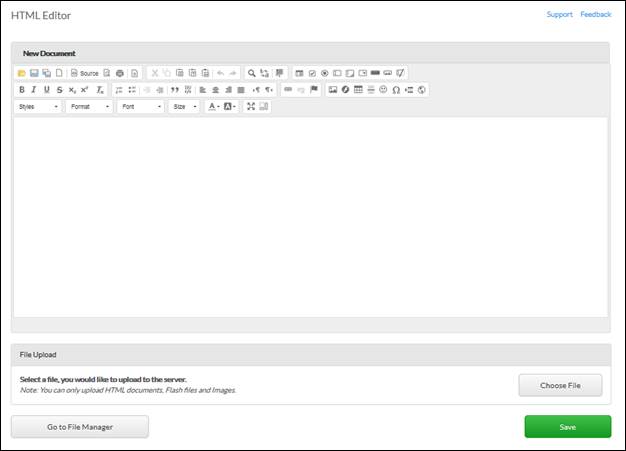
HTML Editor is a lightweight text editor to edit HTML web pages. It provides most of the commonly used functions from desktop editors from Word to the web. By using HTML Editor you can write text, format text, create tables and much more. The HTML Editor Application can be found under Advanced Tools section of the Control Center.
The HTML editor also gives you an option to go directly to your File Manager and select the appropriate file you wish to edit using the HTML Editor. You can also upload HTML documents, Images and flash files from your computer by clicking the Choose File button.
|
Log Manager
|
|
The Log Manager allows you to obtain raw server logs about your site’s activity and traffic. View and/or delete, print, download, and date your log files. You can also disable logging altogether to conserve your disk space. The server logs can also be downloaded for use with other statistics packages.
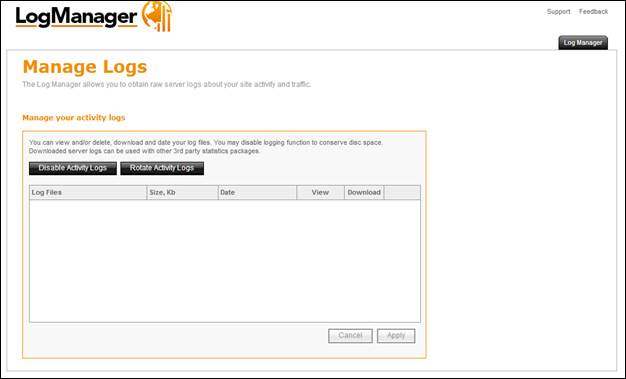
Disable Activity Logs - Disabling the Activity Logs will stop generating the logs for your domain.
Rotate Activity Logs – Refreshes the list of logs
|
PHP Manager
|
|

You can view the available PHP versions and generate a php.ini file.

|
|
|
|
PHP My Admin
|
|
phpMyAdmin is a web-based application used to manage a MySQL database. It is free and open-source software.
(Note: Please create a blank database in My SQL Database Manager before proceeding with the installation)
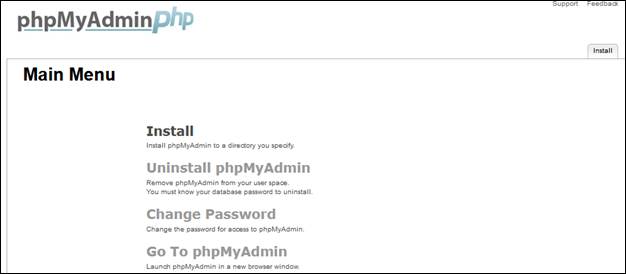
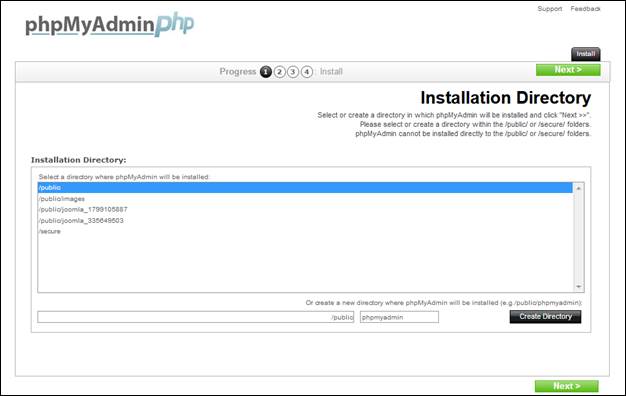
- Install
- Select an appropriate directory where you want to install phpMyAdmin
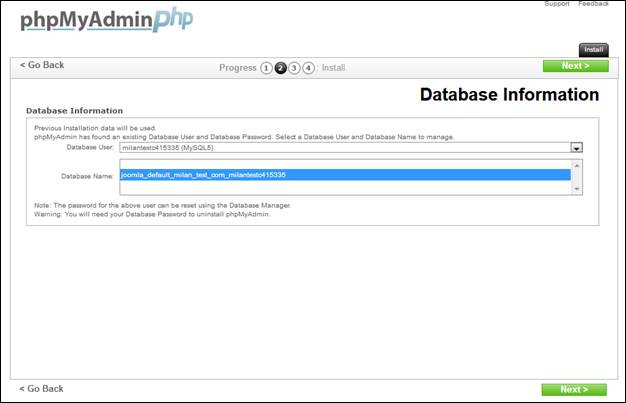
- Select the appropriate database
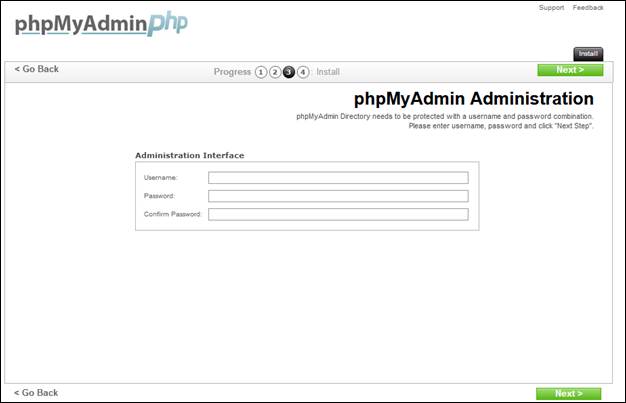
- phpMyAdmin Administration:
Enter your desired username, password and confirm password.
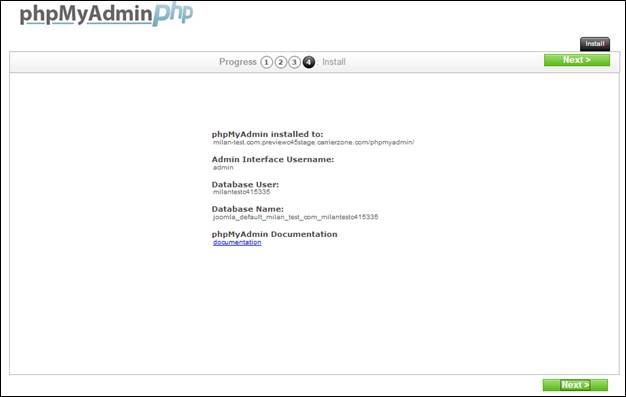
- Installation success:
This section will give you all the details such as the directory.
- Uninstall phpMyAdmin – Will uninstall phpMyAdmin.
- Change Password – You can change password for your phpMyAdmin.
- Go To phpMyAdmin – This will take you to the main login screen for phpMyAdmin.
|
SSL Manager
|
|
SSL Manager is an online tool that helps you set up SSL security for your site. If you utilize forms, online payment, or collect sensitive information, you require SSL Security. Having an SSL certificate will ensure that your transactions or sensitive content is protected and secure.
SSL Manager allows you to purchase, install and manage the SSL certificate associated with your website. You can manage multiple domains and associated SSL certificates using the application.
For more information click here.
|